Showing posts with label Before and After Party. Show all posts

Thursday, June 9, 2016

Home Sweet Home #275

Perfect Love: The Charm of Home
Hello and welcome to Home Sweet Home!  This week I celebrated wedding season with this post: Perfect Love.

There are so many great ideas, decorating, and delicious recipes at the Home Sweet Home Party each week.   All of you are so very talented!  Here are a few that caught my eye. I pin a lot from this party each week! These features were all pinned! Thanks for joining me!

Beach House
Pam at Everyday Living shared a beautiful beach house in A Beautiful Day on 30A.

Farmhouse Style Bath
Kristi at Making It in the Mountains shared A Farmhouse Style Bathroom Reveal.  She did an awesome job on this! 

Tea Time
Janet at Rosemary and Thyme shared a beautiful outdoor table in Time for Tea.


Outdoor Dining
Hakan of Rose Garden Malevik takes us outside to dine also in the Saturday Showoff Blog Party.  Check out the amazing centerpiece!  

I am really lucky to have all of your amazing posts because, it is you who make the Home Sweet Home party so special!  You are all so talented and share such wonderful posts! Thank you to everyone who joins me at Home Sweet Home!  It is wonderful to have you here!

Sherry

Follow me on Twitter 

Follow me on Facebook

Follow me on Pinterest

Follow me on Instagram

Follow me on Tumblr

Guidelines for Home Sweet Home Party: 
Attention: To link up you must have a permalink back to this party in your post or you won't be featured.
Link up anything from your home or garden.   I love seeing home tours and neat shops too!
My button for the party is under the button tab at the top of the blog, if you want to use it.   If you are new here I hope you will become a follower. Please don't link up more than two posts.  No Etsy link ups or direct advertising, please.  Please visit some of the other blogs and get some great inspiration.  Thanks.:)

Now let's see your beautiful home, delicious recipes, crafts, or whatever makes your home special!

*If you are pinning a post submitted here, please pin from the original source.


Monday, April 2, 2012

Before and After...Life with Kids

This is a different kind of before and after post for me.  I have always wanted to put a post like this out there but, for some reason I never had enough nerve.   This is a before of a spring mantel I did this year....

...days if not moments after I styled the mantel this is what it became.  A parking ground for a multitude of action figures.

I really think my 7 year old thinks he is adding to the decor...note the artfully placed fighter jet by the nest of eggs.

My living room is most painfully staged for some Christmas shots in 2010...

...when this is really what it looks like many days out of the week.  Yikes...I really cringe showing that shot.

I have a teen who was always a wonderful doodler.  I love the pictures I found in the fridge; of all places, this week.

Our o.j. looked a little disgruntled this morning.  Kids...you gotta love them!  My life has never been the same since they came along.  
 Sherry
  I will join: 
 Show off Your Cottage Monday  at The House in the Roses  
Seasonal Sundays  at The Tablescaper
Sunday's Best Party  at My 1929 Charmer
Metamorphosis Monday at Between Naps on the Porch
Before and After Party  at The Thrifty Decor Chick

Sunday, July 31, 2011

Bathroom Makeover Part 1

Today I am showing the before and after of our bathroom we did a few weeks ago.  I was going to wait and show it when it was decorated but, it will be awhile till we find the right accessories.   So, this is the before, last decorated in the early 90's. 

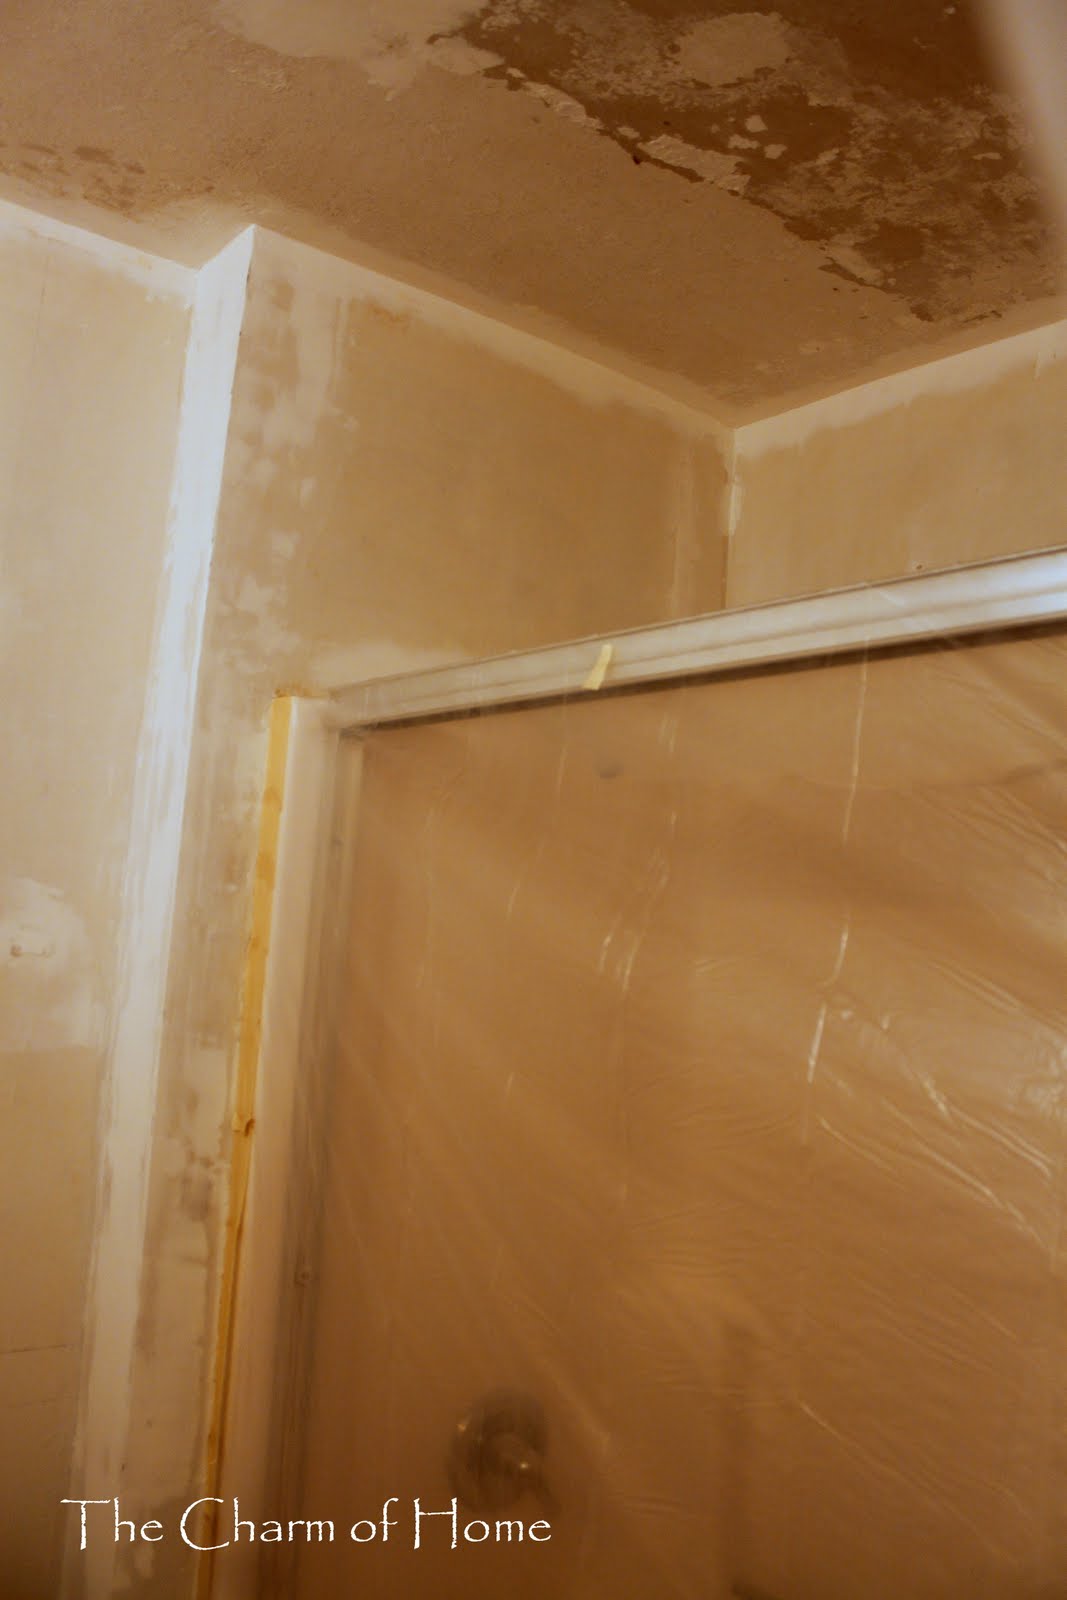
The original drywall tape was falling down and the wallpaper was peeling everywhere.  

 This area is above the tub.  When my oldest two sons were around 3 and 5 they used to throw washcloths on the ceiling and watch them stick.  They are now 16 and 18 and this ceiling has been like this a few years.
 The Process:
 So, the plan was to remove the paper and the falling drywall tape.   The holes were patched and the taping and sanding began.  It takes several layers of mudding and sanding the drywall.  My oldest son did a lot of this part of the drywall.  That helped out a lot.

 Here the popcorn ceiling was getting scraped off.  To remove you take a spray nozzle bottle with water  and dampen the popcorn ceiling then scrape off with a putty knife.  

Here we are getting ready to spray on a knockdown texture.   Everything was covered and taped with plastic.  The toilet and tub were the only two things still in the room. 

This is the wall texture mix we used to make the knockdown drywall texture.

 Practicing with the hopper to see how the drywall mix will look .  After you spray the wall texture mix on, you wait up to 30 minutes and then you knock it down with a putty knife.  

Before and Afters:

The bathroom vanity before. (I repainted it, that post here.)

 Bathroom vanity after.

Wall as you come in bath and cabinet above toilet.

 Wall now and cabinet above toilet gone.

 Ceiling above tub before.

 Ceiling above tub after.
 We haven't added any accessories yet.  We need something on the wall to store items and towels.  We want to find something unique and cottage-like that will be beachy.  So Part 2 will be the decorating.  Thanks for bearing with me through that long post.   My husband and I did all of the work.  Eldest son helped with the mudding, taping and sanding of the drywall. 
I will link this up to:
Metamorphosis Monday at Between Naps on the Porch
Before and After Party  at Thrifty Decor Chick
Masterpiece Monday at Boogieboard Cottage

Tuesday, June 21, 2011

Makeover of a White Chest


We bought this chest in 1991. The last time I did anything to the finish it I was 8 months pregnant with my first child.  I remember it being cold and me painting it in the garage with Kilz.  We used it as a dresser in the nursery and the top was a changing table.  I shopped the house when we grew a dining room with our new addition and it became a little sideboard for the new space.  But every time I walked by it, the chest just kept reminding me of the nursery. So the week my 5 year-old went to kindergarten, I used this chest to adjust to the fact that no more of our babies will ever be in the house, a melancholy week for me.  So, it was time for this chest to grow up too.  
(This is a re-post from 2010.)


I stripped the white paint off of the chest.  This is the stripper I used.

I started with a drawer to see how this stripper worked.  I have stripped a piece of furniture before but it was a few years ago.  

The stripper worked really good.  As you can see the paint came right off but, the primer has to be sanded off.  Thank goodness for my orbital sander.

The knobs are coming off for a hand sanding later.

Here is the drawer after sanding with the orbital sander.

After the orbital sander I switched to the sanding sponge with a medium grit to get as much of the white paint off as I could.  But if you notice, I don't get it all off.  I like the look of the white paint in the dings and grooves.  It gives the appearance of something antique with white milk paint in the cracks.  


After a good dusting, it is time to pre-treat the wood before staining it.  I used Minwax Pre-stain.  I would think it is a mix of Linseed oil and mineral spirits.  Although, I couldn't find the ingredients on the label.  (The rags used from this step become highly combustible dispose of them carefully after use.)

 
The natural pine on this chest is pretty, but I wanted a richer color so I decided to stain it.  I used Miniwax Polyshades in Pecan Satin.  This was the warm tone I was going for.  Note: the pine wood has to be pre-treated before the staining.  It is a soft wood and the wood fibers will take the stain very uneven without a pre-treatment.  The pine still doesn't take the stain perfectly even being that chest is made of many pieces of wood that will all take the stain differently.  

 The final step is to "sand" again with a #0000 grade steel wool.  This puts a satin smooth finish on the wood.  After you can again apply another layer of stain and "sand" again with the steel wool and then you are done.


I hand sanded the knobs entirely with a coarse grade sand paper and the sanding sponge.  I would believe the knobs are made of a different wood entirely because they were a lot darker than the pine.  Here the knobs are after pre-treatment and stain done in the same manner as the chest and I have them drying between the slats in our swing.

 
So, here is my little nursery chest all grown up.  It will work for now until someday we find the perfect buffet or hutch.  

 Now I have somewhere to put all my seasonal decorations.
 I will link this to the week long blog party.  This entry goes to:
Drop Cloth Projects at My Uncommon Slice of Suburbia


Sunday, January 23, 2011

Me'tamorphose D'une Lamp

 aka: Makeover of a Lamp
I have a little light.  It was given to me.  It sorta has a department store/maybe Kirkland's feel about it.  I decided I would try to make it look more French.  

The lamp had an urn style, which was really good.  I liked the overall design of it, I just wasn't digging the color painted on the relief design.  

So, instead of spray painting the whole lamp and loosing the wonderful patina it had I decided to highlight the relief with a gold Rub n' Buff.   It was so easy my five-year-old gave it try.  

The lamp shade was dated, so I thought I would give that a new look too.  The first thing I did was take the trim off.

I left the velour on the outer part of the shade because, the lining was in great shape and I didn't want to destroy it and they seemed to be connected.

But, just because I left that velour on it I didn't have to look at it, so, I covered it with a white linen.

 I have the linen on and now I will trim the overhang.

I then used a super tacky craft glue and added a pre-made trim.

So, here it is before on the left and after on the right.  Freshening up the lamp's look seem to work.  I liked the way it looked now.

Sneak peak at White Wednesday.
I will join these links:
Go and visit these wonderful blogs. 
Metamorphosis Monday at Between Naps on the Porch
Masterpiece Monday at Boogieboard Cottage 
Re-Party  at First a Dream
Amaze Me Monday at Dittle Dattle
Boring to Better Party at Savvy Southern Style