Showing posts with label bathroom. Show all posts

Tuesday, May 1, 2012

Gifts for Mom


I have seen these sugar scrub and bath salt recipes all over Pinterest and I decided it would be a great thing to try for a Mother's Day gift.  Pictured here is a bath salt I made myself. 


It is really easy to make this and here is what you need.  Recipe source.
Bath Salts:
3 parts Epsom Salt
6 parts coarse sea salt
1 part baking soda
few drops of essential oils
food color
* Note I measured the parts by a medicine cup and it worked out perfect.
    It yields 2 cups of bath salts.
First, mix all the dry.  I put the essential oil and 1 drop of red and 1 drop of yellow food color in a medicine cup to mix and then added it into the salts.  Mix until you get a pretty color.

The scents I used were coconut, vanilla, and orange.  The orange was an essential oil and the other two were from a craft store for making soap or bath products.

I also made a sugar scrub.  It is really nice and it moisturizes.  The color comes from the olive oil.  It would be nice to use lime essential oil with coconut and vanilla for a great tropical smell.
Sugar scrub:
1 cup sugar
1/2 cup extra virgin olive oil  (*note:  I would use a little less and add more if you need it, mine was a little soupy and then I drained some of the olive oil back off of the top to get the desired consistency.)
essential oil of choice

This was the easiest recipe I found for a scrub.  There are a lot of recipes out there. 
Enjoy!

Sherry
I will link this to: 
Wow Us Wednesday at Savvy Southern Style
What's It Wednesday   at Ivy and Elephants


Sunday, July 31, 2011

Bathroom Makeover Part 1

Today I am showing the before and after of our bathroom we did a few weeks ago.  I was going to wait and show it when it was decorated but, it will be awhile till we find the right accessories.   So, this is the before, last decorated in the early 90's. 

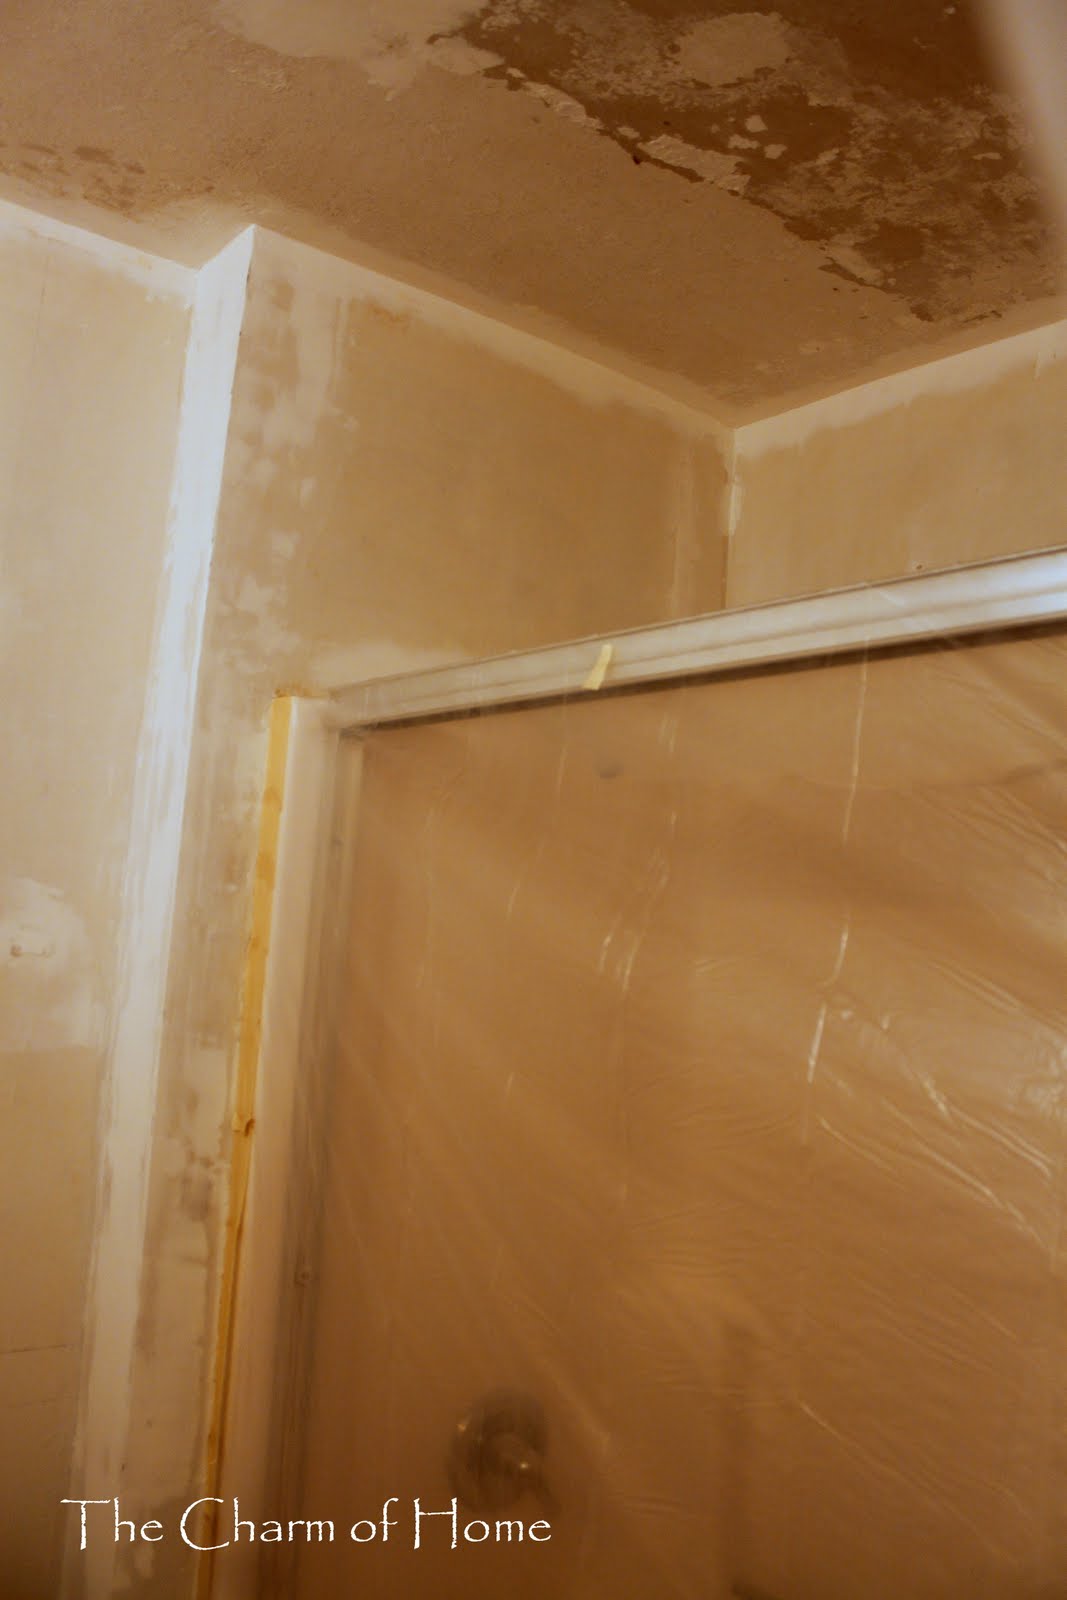
The original drywall tape was falling down and the wallpaper was peeling everywhere.  

 This area is above the tub.  When my oldest two sons were around 3 and 5 they used to throw washcloths on the ceiling and watch them stick.  They are now 16 and 18 and this ceiling has been like this a few years.
 The Process:
 So, the plan was to remove the paper and the falling drywall tape.   The holes were patched and the taping and sanding began.  It takes several layers of mudding and sanding the drywall.  My oldest son did a lot of this part of the drywall.  That helped out a lot.

 Here the popcorn ceiling was getting scraped off.  To remove you take a spray nozzle bottle with water  and dampen the popcorn ceiling then scrape off with a putty knife.  

Here we are getting ready to spray on a knockdown texture.   Everything was covered and taped with plastic.  The toilet and tub were the only two things still in the room. 

This is the wall texture mix we used to make the knockdown drywall texture.

 Practicing with the hopper to see how the drywall mix will look .  After you spray the wall texture mix on, you wait up to 30 minutes and then you knock it down with a putty knife.  

Before and Afters:

The bathroom vanity before. (I repainted it, that post here.)

 Bathroom vanity after.

Wall as you come in bath and cabinet above toilet.

 Wall now and cabinet above toilet gone.

 Ceiling above tub before.

 Ceiling above tub after.
 We haven't added any accessories yet.  We need something on the wall to store items and towels.  We want to find something unique and cottage-like that will be beachy.  So Part 2 will be the decorating.  Thanks for bearing with me through that long post.   My husband and I did all of the work.  Eldest son helped with the mudding, taping and sanding of the drywall. 
I will link this up to:
Metamorphosis Monday at Between Naps on the Porch
Before and After Party  at Thrifty Decor Chick
Masterpiece Monday at Boogieboard Cottage