Tuesday, December 31, 2013

Happy New Year!

Were ringing in the new year here at The Charm of Home.


I am wishing you a healthy and...

Happy New Year!

Happy 2014!


Sherry
I will link to:
A Return to Loveliness  at A Delightsome Life 
The Scoop at Confessions of a Plate Addict 
Share Your Cup Thursday at Have A Daily Cup of Mrs. Olsen

Saturday, December 28, 2013

The Year in Tea 2013

My year in review is usually just in tea posts.  I love having tea and photographing it so it is the one thing I do regularly on the blog to review.  Here it goes:  for January I shot my tea with a new prop in Tea & Barnwood.

In February I shared some tips on Icing the Cake.

I have done a lot more cooking this year and in March I shared a breakfast muffin that was gluten/wheat free in A Little Tea for Breakfast.

In April, I was looking ahead to what I could read to my youngest for summer break in Summer Reading with Boys.

I am the proud owner of a complete set of tea cups, mugs, and dessert plates from the Royal Doulton Brambly Hedge pattern.  If you have no idea what I am talking about, the Brambly Hedge china pattern is created from the adorable illustrations that went along with the children's story by the same name.  This story originated in the UK, written by Jill Barklem, and is based around a little community of mice living in the English countryside.  So, for May I had tea with the spring mug and dessert plate in More Brambly Hedge.  I have never shared this but, the illustrations and the story are a favorite of mine because I grew up in KY picking blackberries from a brambly hedge of our own on the farm and I raised a pet mouse I found as a child and kept him for several years.  That freaks my husband out because he hates mice. Ha!  

I am getting quite a brambly hedge of my own in the form of roses and they were in full bloom in June in Flower Therapy.

You can not have a summer go by without a Mad Tea Party and in July I had my favorite little girls join me this year in Mad Tea Party '13.

I really do have some of my own blackberries in the back yard and I enjoyed photographing them in August in Berry Season.

In September I said goodbye to summer in Goodbye Summer Tea.

In honor of Breast Cancer Awareness for the month of October I had A Pink Tea.

I discovered a new green tea that I love and was searching through vintage cookbooks in November in  Autumn Mornings.

In December I made some White Chocolate Peppermint Scones in Christmas Tea 2013.

So, there is my review in tea posts.  I am having tea all through 2014 too, usually on Tuesdays stop by and join me for a cuppa!

Sherry
I will link this to:
 

Tea Time Tuesday at Rose Chintz Cottage 
A Return to Loveliness  at A Delightsome Life 
Tea Cup Tuesday at Martha's Favorites
Tea Cup Tuesday at Artful Affirmations
Tuesday Cuppa Tea at Antiques and Teacups
Tea In The Garden at Bernideen's Tea Time Blog
Seasonal Sunday at The Tablescaper
Homemaking Linkup at Hope In Every Season 
Rooted in Thyme Simple and Sweet Fridays
Wow Us Wednesday at Savvy Southern Style 
Inspire Me Tuesday at A Stroll Thru Life 
Favorites on the First at The Polohouse 
Pink Saturday at How Sweet the Sound 
Show and Tell Friday at My Romantic Home

Monday, December 2, 2013

Christmas Tea 2013

I am joining the tea folks today with a little Christmas tea.  I so like having tea on the blog.  I started doing this for my Mother who liked the idea of having tea but, was at a distance and couldn't join me.  She will be visiting today so I will have tea in person with her.

I think My Mother gave me this cookbook.  She bought it but never cooks, she just likes to look at recipes!  My scone recipe today came from this cookbook.

The teacup is Johnson Brothers Old Britian Castles.

I really love this pattern, just look at all of the detail in the saucer.

Back to the scones, these are White Chocolate Peppermint Scones for Christmas.

White Chocolate Peppermint Scones

Ingredients:
2 cups all-purpose flour
1/3 cup sugar
1 teaspoon aluminum free baking powder
1/2 teaspoon baking soda
1/2 teaspoon salt
6 tablespoons chilled unsalted butter, diced
3/4 cup white chocolate morsels 
1/2 cup peppermint baking chips (I used 2 crushed up candy canes)
3/4 cup chilled buttermilk
1 large egg yolk
1 teaspoon vanilla extract
1/2 teaspoon peppermint extract
Sugar sprinkles

 Preheat oven to 400 degrees.  Line baking sheet with parchment paper.
In a large bowl sift together, flour, sugar, baking powder, baking soda, and salt.  Add butter and blend with a pastry blender till flour is in coarse crumbs.  Stir in white chocolate morsels and peppermint baking chips.  I used 2 smashed candy canes because I couldn't find peppermint baking chips.  I just took two candy canes and placed in a zip lock bag and smashed them with my marble rolling pin.  It worked really well against the concrete of the back step. Lol!  What can I say, I live in a house full of guys. 
In a small bowl, whisk together buttermilk, egg yolk, vanilla, and peppermint extract.  Add buttermilk mixture to dry ingredients.  Mix until dough is evenly combined.  Flour a work surface, gather the dough into a ball, and knead for 2 to 3 turns.  Shape the dough as a large round disc and take a knife and score it into 6 pie shaped pieces.  I used the egg white to wash the top of the scones and  then I sprinkled with sugar sprinkles and sanding sugar.  Bake for 18 to 20 minutes or until golden brown.  

Recipe adapted from: Tea Time magazine and Scones & Tea
Take a moment to stop and have yourself a cup of tea this holiday season.  We have made it through Thanksgiving and Black Friday (belch) so it will be all enjoyable from this point on right! (?)

Enjoy!


Sherry
I will link this to:
 

Tea Time Tuesday at Rose Chintz Cottage 
A Return to Loveliness  at A Delightsome Life 
Tea Cup Tuesday at Martha's Favorites
Tea Cup Tuesday at Artful Affirmations
Tuesday Cuppa Tea at Antiques and Teacups
Tea In The Garden at Bernideen's Tea Time Blog
Foodie Friday at Rattlebridge Farm 
Strut Your Stuff Saturday at Six Sisters Stuff 
Homemaking Linkup at Hope In Every Season 
Rooted in Thyme Simple and Sweet Fridays
Wow Us Wednesday at Savvy Southern Style 
Inspire Me Tuesday at A Stroll Thru Life 
Favorites on the First at The Polohouse 
The Shady Porch 30 Day Holiday Linkup

Sunday, December 1, 2013

Stocking Stuffers: Flower Embellished Hair Pins

I always wanted to have some of those ultra feminine hair pins that are so pretty with all the wavy romantic hairstyles and my sponsor Wholeport just happen to have all of the supplies to make these!  I got them out and started making them and knew they would be great stocking stuffers for some special girl.  Here are the supplies right out of the package.  Wholeport has the bobby pins (aka: French Barrettes) and the pre-made flowers also.


To assemble these I just used Automotive Super Glue in a gel.  Yes, that is what happens when you live in a house full of guys!  New uses for the most mudane products!  This glue worked perfect!  I found it at the Dollar Store.

Just dab a dot of this glue on the back of the center of the flowers and adhere the bobby pins.  I let mine dry overnight out on the counter.  The next day they were good to go.

Get some pretty card stock and cut out a display card for your lovely creations and you have a beautiful gift for some sweet girl.  I loved how these flowers have glitter in them and they sparkle!


Here is my lovely model!  She was so sweet posing for me with these.  I gave her and her sister the ones I made.  

 Thank you to Wholeport for sponsoring this post!
Sherry
I will link this to:
  
Tweak it Tuesday at Cozy Little House
Make It Pretty Monday at The Dedicated House
Make the Scene Monday at Alderberry Hill
Amaze Me Monday at Dwellings-The Heart of Your Home
Before and After Party at Thrifty Decor Chick 
Metamorphosis Monday at Between Naps on the Porch
Whatever Goes Wednesday at Someday Crafts
The Scoop Party at Cedar Hill Ranch 
Wow Us Wednesdays at Savvy Southern Style 
Strut Your Stuff Saturday at Six Sisters Stuff 
Friday Flash Blog at The Jenny Evolution 
The Shady Porch 30 Day Holiday Linkup

Wednesday, November 27, 2013

Don't Forget, Home Sweet Home Will Be on Tonight!

Don't forget Home Sweet Home will go live tonight since tomorrow is Thanksgiving in the states.  Here is one of the features from last week's party.  Kristen Lump Pare's beautiful Mixed Media Creation.  She hand crafted these flowers out of chiffon! So many talented people!  Come join in!

 Come by and link up any holiday post you have!


Sherry

Tuesday, November 26, 2013

Pumpkin Maple Cheesecake Trifle

I had a request for a trifle for Thanksgiving and I couldn't think of a more fitting flavor than pumpkin.  I found a fantastic Pumpkin Maple Trifle and it was a hit with everyone who tasted it.

Ingredients:
2 tablespoons butter
1 cup chopped walnuts
1/2 cup plus 5 tablespoons of pure maple syrup
1 box (14.4 ounces) whole graham crackers
2 packages (1 oz. each) cheesecake instant pudding and pie filling
1 cup milk
1 can ( 15 ounces) pumpkin puree (not pumpkin pie filling)
2 teaspoons ground cinnamon
1 container (12 ounces) frozen whipped topping , thawed

Directions:
Make the maple walnuts: combine butter and 3 tablespoons of maple syrup in a saucepan.  Cook on medium heat until butter melts.  Add walnuts and stir constantly about 5-7  minutes or until walnuts are evenly candied.  Place on parchment paper and allow to cool.  Break up graham crackers and place into a large mixing bowl.  Pour 1/2 cup of maple syrup into a microwave bowl and heat in the microwave for 60 seconds.  Pour over graham crackers and evenly coat.  Set aside.  
In a medium mixing bowl, whisk together pudding mix and milk until well combined.  Add pumpkin puree and cinnamon.  Mix to combine.  Fold in 2 cups of whipped topping until there are no more white streaks.  Set aside.
In a small bowl, combine the remaining whipped topping and remaining 2 tablespoons of maple syrup and fold until well blended.
Fill a decorater bag with 2/3 cup of the maple cream and set aside.
Assemble trifle:
Place 1/3 graham crackers evenly in the bottom of a trifle bowl. Top graham crackers cracker evenly with 1/2 the pumpkin filling.  Top with 1/3 graham crackers.  Top that with remaining maple cream.  Top that with the final 1/3 graham crackers.  Top with remaining pumpkin filling. Break up the maple walnuts add to the top center of the trifle in a circle shape.  Decorate the top of the trifle with the decorator bag of maple cream as in picture.  Cover top of trifle bowl with plastic wrap.  
Recipe adapted from: Jolts & Jollies
Refrigerate trifle for up to 4 hours or overnight. 
Serve and enjoy!
Sherry
I will link this to:
 
Foodie Friday at Rattlebridge Farm 
Strut Your Stuff Saturday at Six Sisters Stuff 
Homemaking Linkup at Hope In Every Season 
Rooted in Thyme Simple and Sweet Fridays
Wow Us Wednesday at Savvy Southern Style 
Home at Rose Chintz Cottage 
Everyday Vintage at Helen's Legacy

Monday, November 25, 2013

Thanksgiving Place Setting

In the states were are getting ready for Thanksgiving so I will be brief with my posts this week.   Here is the place setting I will have on my table this year. 

I love this charger and these plates they all layer so well together even though they are of different sets.
Did you catch peek at my pumpkin trifle in the first picture?  I'll be back tomorrow to show that recipe to you. It is delicious and the children are making it disappear fast!

I will link to:
Inspired Sunday at Sunday View  
Make It Pretty Monday at The Dedicated House
Seasonal Sundays at The Tablescaper 
A Return to Loveliness  at A Delightsome Life 
The Scoop at Confessions of a Plate Addict 
Home at Rose Chintz Cottage
Be Inspired Friday at Common Ground  
Feathered Nest Friday at French Country Cottage

Wednesday, November 20, 2013

Making Cookies with a Mold (Sugar Coookies)

I have been wanting to try making cookies with a mold for a long time.  So the understated sugar cookie got a makeover at my house this week with a sunflower baking mold from my sponsor Wholeport.  I really loved how these cookies turned out!  Talk about elegant and something new at the holiday table, these were perfect!

I used my long time favorite sugar cookie recipe from Martha Stewart with a few changes I have made.
Recipe adapted from: The Martha Stewart Cookbook

Ingredients:
 2 cups of all-purpose flour
1/4 teaspoon salt
1/2 teaspoon aluminum free baking powder
1/4 pound (1 stick) butter, softened
1 cup sugar
1 egg
2 tablespoons of Hazelnut Kahlua (optional)
1/2 teaspoon vanilla extract

Technique:
Sift together the dry ingredients.  In an electric mixer, cream butter, sugar, until well mixed then add the egg, Kahlua, and vanilla and continue mixing until light.  Add the dry ingredients a little at a time and mix until well blended.    

Wrap and chill dough for at least 30 minutes. You cannot skip this step, with the mold you must chill the dough.  Preheat the oven to 400 degrees.

The cookie mold design, the holder it fits in, the rolling pin, the work surface all must be lightly floured.  All work surfaces must stay lightly floured between each cookie.   Roll out the dough to about 1/8 and inch.  When you insert the design disk in the baking mold holder and press down, press hard with this handle I am holding onto in this picture and give it a tiny twist, like you are making biscuits.  Make sure you have gotten to the work surface with your effort.  Then push down on the spring loaded handle to make the cookie design, pressing hard.

Place your cookies on a parchment lined baking sheet and bake for 6-10 minutes.  It is not recommended to get these cookies too brown.  
 Okay here is my first tray of cookies.  You can see that with some of the cookies I pressed hard enough to create the design and with some I didn't.  So press hard to make these cookies.  After this tray I was getting the hang of it.

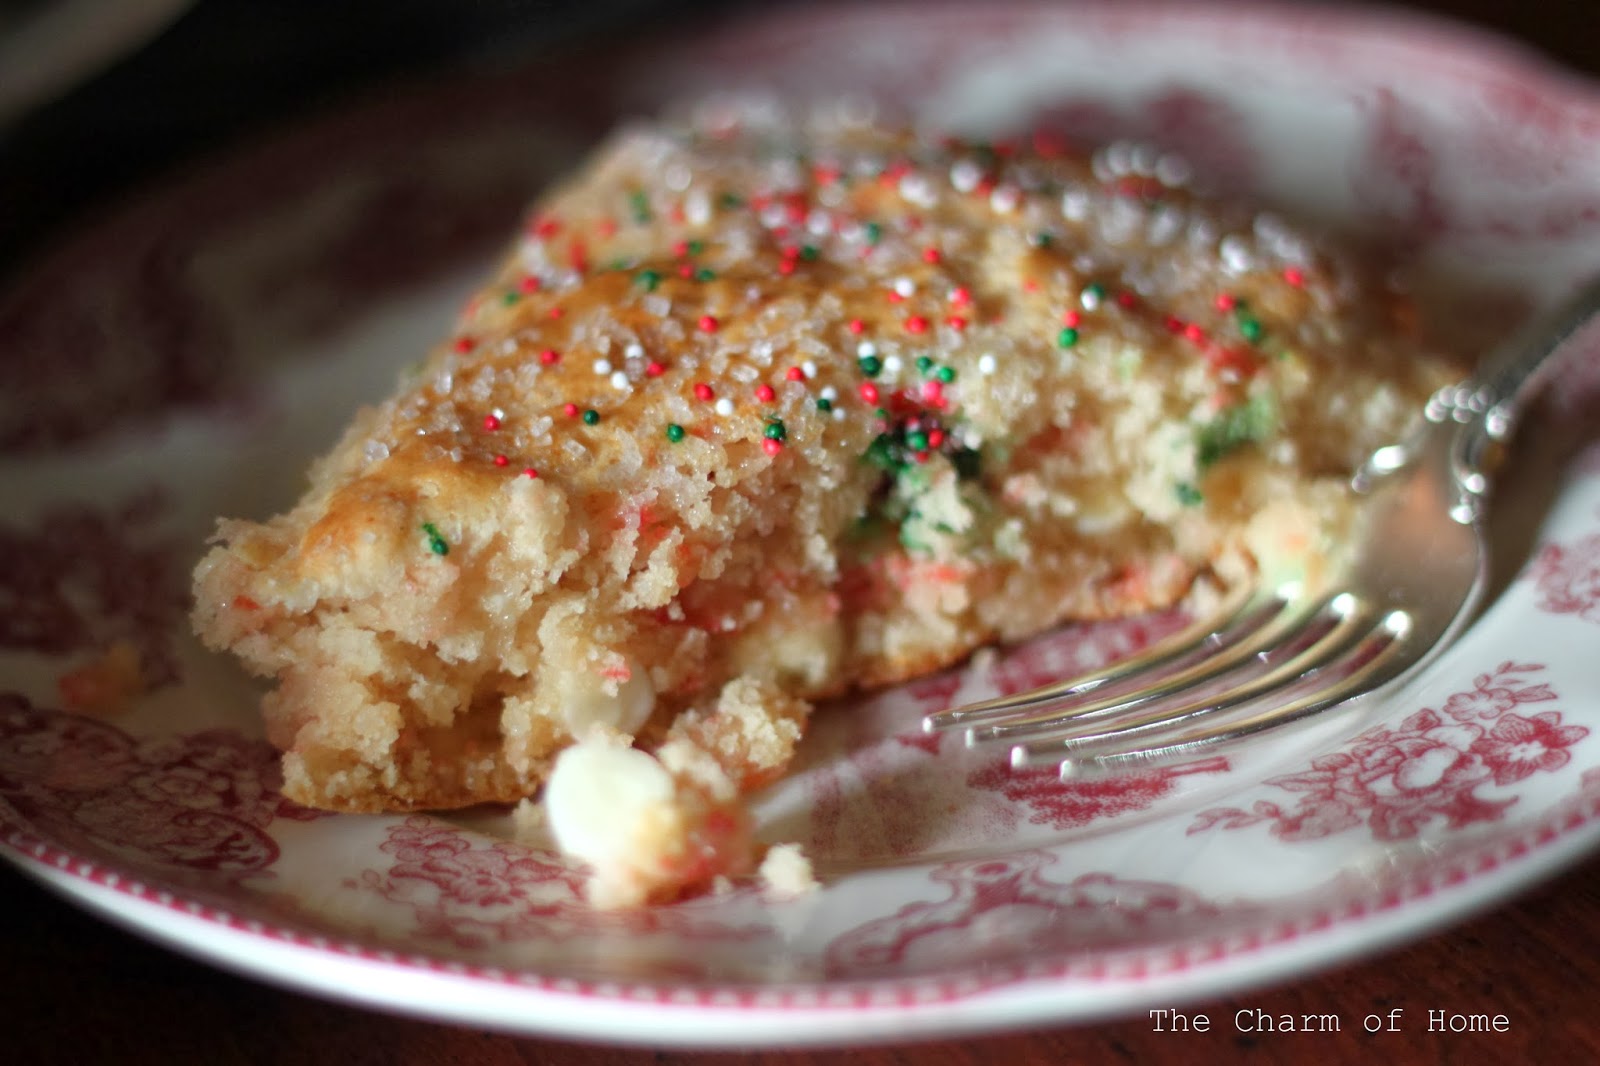
Here they are right out of the oven!  Aren't they gorgeous with this design pressed in them!  I just love how they turned out!  With this recipe they are crispy on the edges and soft in the center a great texture in a sugar cookie.

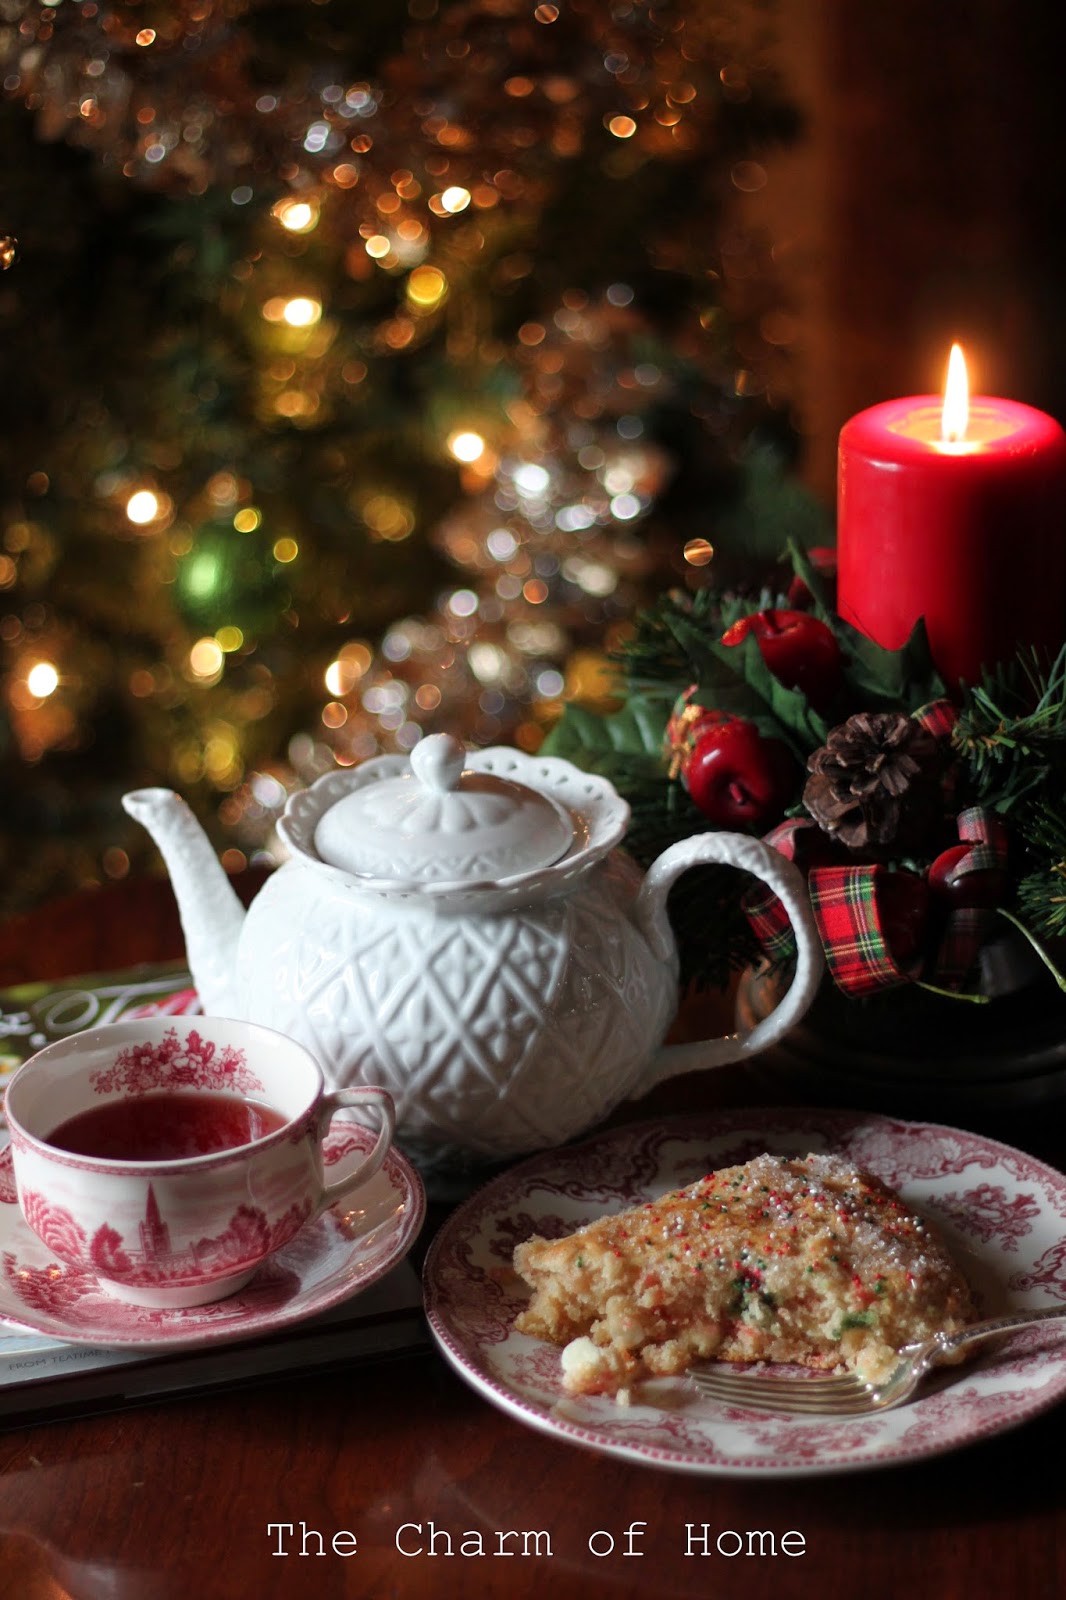
Here they are ready for a cup of tea and some guests!
I really loved this baking mold from Wholeport!  
Thank you Wholeport for sponsoring this post by supplying the baking mold!

Sherry

Thursday, November 14, 2013

Home Sweet Home # 145

Hello and welcome to Home Sweet Home!  This week I relived my childhood Christmases in Christmas Memories.

I am getting ready for the holidays in Let the Holiday Baking Begin.

I tried a new pumpkin pie recipe in Pumpkin Chiffon Pie.

There are so many great ideas and recipes at The Home Sweet Home party each week. Here are some of the great blogger's post that caught my eye from last week's Home Sweet Home.

Mary at Home is Where the Boat Is did a post on Fall at the Table that was fantastic!

Tasha at Designer Trapped in a Lawyer's Body showed off her DIY Laundry Room Makeover.


Tammy at One More Time Events showed off a Christmas Peppermint Dessert Bar. YUM!

Kim at Living Vintage showed off her Vintage Master Bedroom Makeover.

 There were so many wonderful posts.  It is really hard to feature a few and, remember to be featured you must have a link back to the Home Sweet Home party.   Thank you to everyone who joins me at Home Sweet Home!  It is wonderful to have you here!
  Sherry

Follow me on Twitter  
Follow me on Facebook 
Follow me on Pinterest

Guidelines for Home Sweet Home Party: 
 
 
Attention: To link up you must have a permalink back to this party in your post or you won't be featured.

Link up anything in your home or garden.  I love seeing home tours and neat shops too!

My button for the party is at the "Buttons" link at the top of the blog under the header, if you want to use it.   If you are new here I hope you will become a follower. Please don't link up more than two posts.  No Etsy link ups or direct advertising, please.  Please visit some of the other blogs and get some great inspiration.  Thanks.:)
Now let's see your beautiful homes, delicious recipes, crafts, or whatever makes your home special!

 *If you are pinning a post submitted here, please pin from the original site.