Making your own ice cream cake couldn't be easier. Give yourself a day or maybe two to make it because you will need to freeze in between the ice cream layers before proceeding to the next step.
Ingredients:
Cake:
1 carton of vanilla ice cream (around 6 cups)
1 carton of second flavor ice cream. (I used chocolate chip.) (also around 6 cups)
1 1/4 cup of chocolate crumbs for baking (can make these out of Oreos)
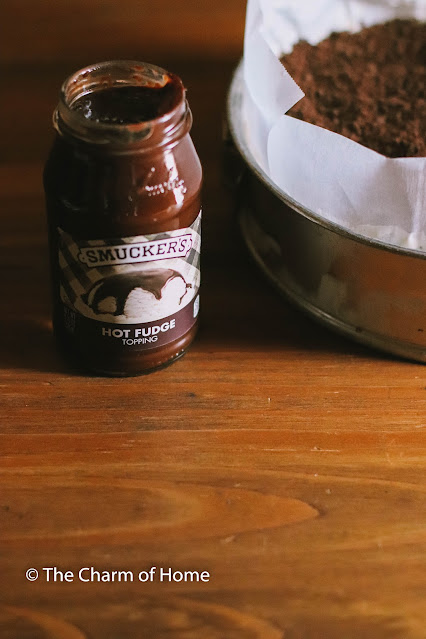
12 ounce jar of Smucker's Chocolate Fudge Sauce
Icing: Stabilized Whip Cream :
2 cups of heavy whipping cream
4 tablespoons powdered sugar
1 tablespoon cornstarch
1 teaspoon vanilla extract
sprinkles (optional)
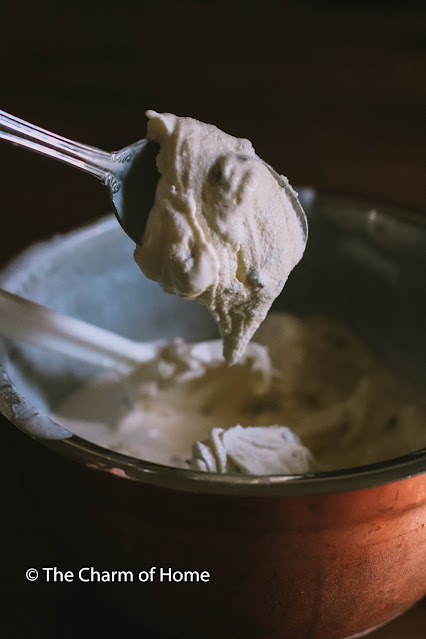
Your first step is to pick out a pan and line it with parchment paper, especially on the bottom. I also layered the sides. Then pick out your first ice cream flavor and leave it on the counter for 20-30 minutes till it has the consistency of soft serve like in the picture above.
Next, pour your cookie or chocolate crumbs over your cake top. Cover it completely.
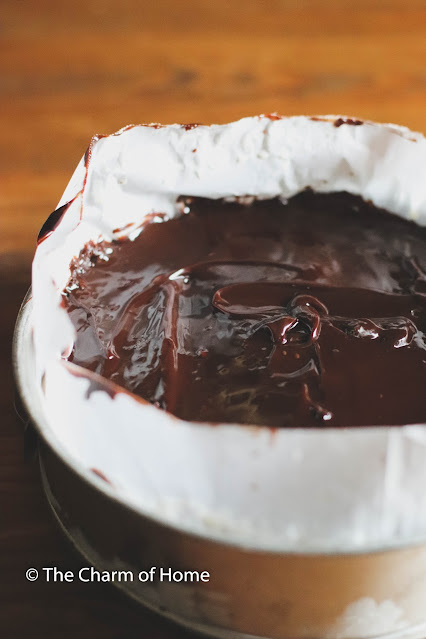
Next, warm your fudge sauce in the microwave for about 20 seconds with the lid off. Then pour this over your cookie crumb layer and smooth it out again, like icing a cake.
Put the whole cake in the freezer again for at least 30 minutes. While this is hardening up, take out of the freezer your second flavor of ice cream and leave it on the counter for 30 minutes.
When the second ice cream is spreadable, take your cake out of the freezer and smooth the other ice cream out like icing a cake. I had more like 4 cups of ice cream in the second layer. It wasn't a tall enough pan to make it with the whole 6 cups of the second flavor of ice cream. Then put it all in the freezer and harden it for at least 30 minutes or more.
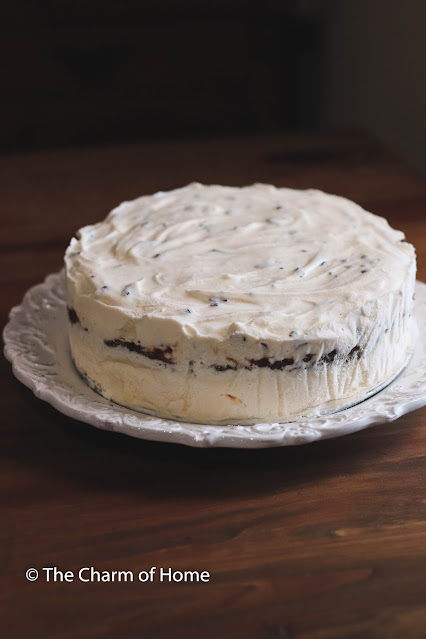
Here is the finished ice cream part of the cake, but we still want to ice it.
Now make the stabilized whip cream. Add the cream to a large bowl and, use a hand mixer or stand mixer, stir in the powdered sugar slowly. On medium speed, whip the cream till it forms soft peaks. Slowly add the remaining ingredients until it is incorporated and it whips up to hard peaks, and you are ready to ice the cake.
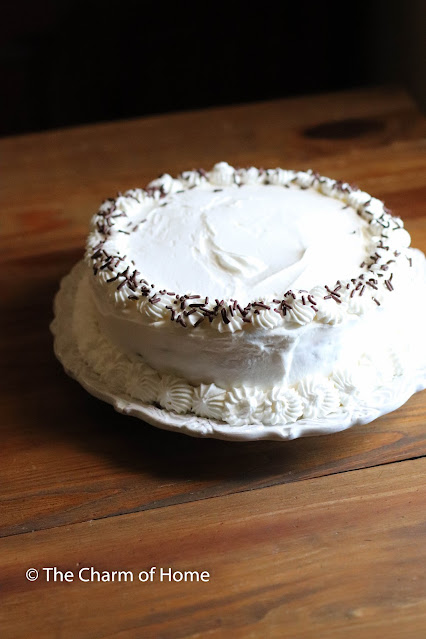
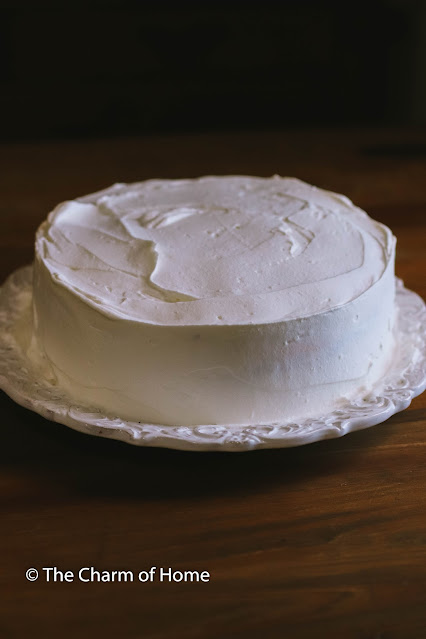
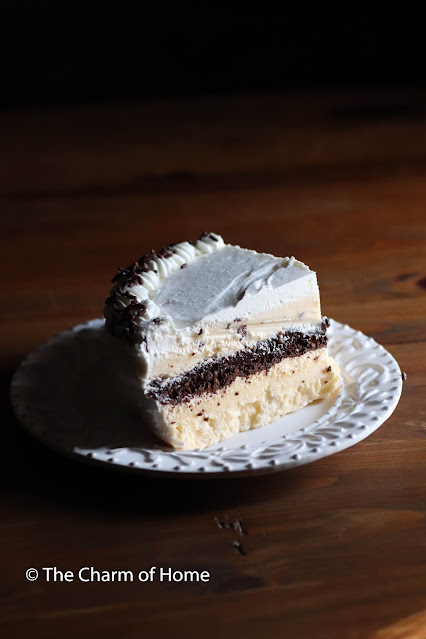
The cake above has been iced with stabilized whip cream. You can stop here and serve, or you can pipe on with an icing bag and tips and make a decorated cake. I decorated my cake with an open star tip on the edge of the cake and at the base, and then I applied chocolate sprinkles.
Store it in the freezer until eaten, which won't take long.
I noticed that this cake is way easier to cut than a DQ cake. It was also about $20 cheaper! How did it taste? The children said it tasted just like a DQ cake. Win win!
In Victory!
Sherry




No comments:
Post a Comment